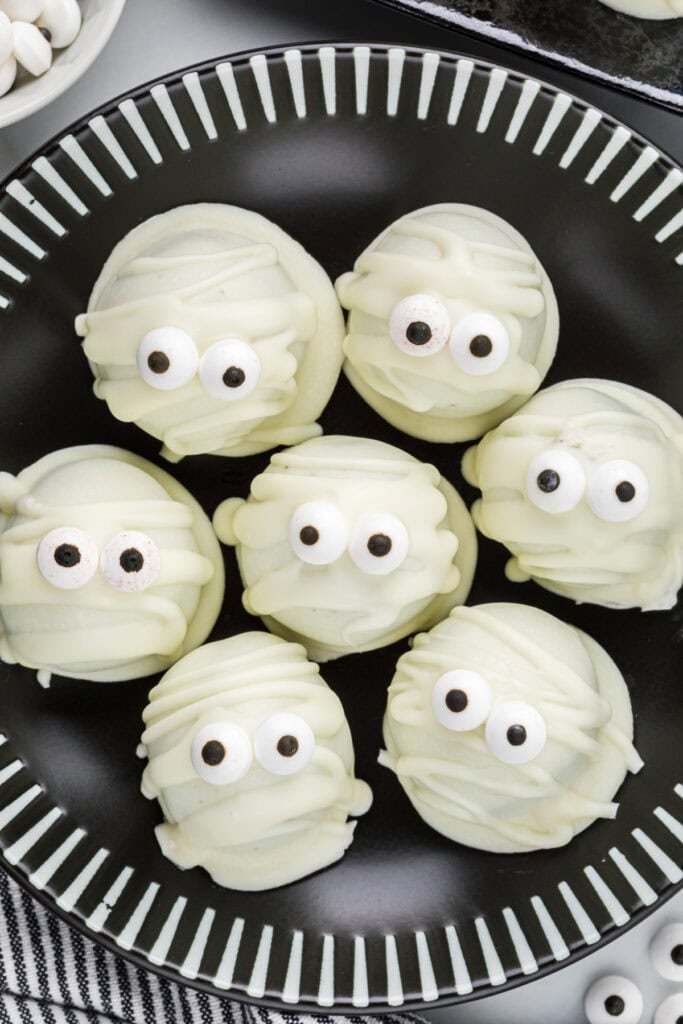
These spooky and silly Mummy Oreo Balls have a creamy, chocolatey Oreo center, a sweet candy coating and drizzle, and edible candy eyeballs, making them bite-sized and delicious Halloween mummies. They are easy, no-bake treats, perfect for Halloween parties and gifting. Gather the kids to help make them; they are as much fun to make as they are to eat!
What we love about these Halloween Oreo Balls
If you haven’t made Oreo balls/Oreo truffles before, they are so easy to make. You just crush 36 regular Oreos and combine them with 8 ounces of cream cheese. That’s it! Roll them into 1-inch balls, refrigerate, and then dip in the coating of your choice.
We love these Mummy Oreo Balls; they are equal parts silly and spooky! We used Ghirardelli Vanilla Flavored White Candy Wafers to dip the Oreo balls into and for the drizzle, then just placed the eyeballs on the drizzle when wet. They are fun and easy to make; this is a huge kid-friendly activity. They are the perfect Halloween treat for any party, and they taste so good!
Looking for some other fun fall and Halloween treats? Try our Pumpkin Oreo Balls, Mummy Pretzels, Oreo Cookie Spiders, Pumpkin Patch Cookies, Chocolate Frosted Cookies, Pumpkin Spice Cookies with Cream Cheese Frosting, Glazed Pumpkin Bread, Apple Caramel Bundt Cake, or our Apple Crisp with Brown Sugar & Oat Topping. We also have some fun charcuterie boards! Check out our Fall Themed Charcuterie Board or our Halloween Charcuterie Board.
What you need to make these Oreo Mummy Balls
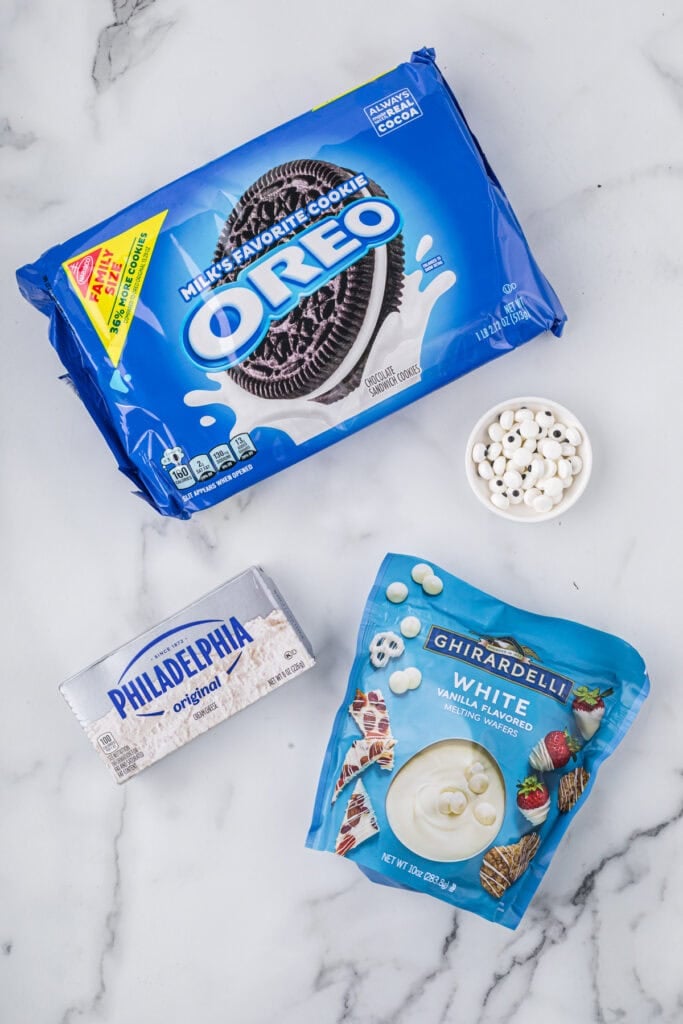
You will need the following ingredients:
- Regular Oreos (not Double Stuf)
- Cream cheese
- Ghirardelli White Vanilla Flavored Melting Wafers or candy melts
- Edible candy eyeballs
Mummy Oreo Balls Substitutions
I know what it’s like when you don’t have everything on hand, and the last thing you want to do is run to the store and pick something up. Here are a few ideas to substitute items on the ingredients list if needed:
- You can try different filling flavors of Oreos.
- You can use white candy wafers or almond bark from different brands.
Step-by-step Instructions
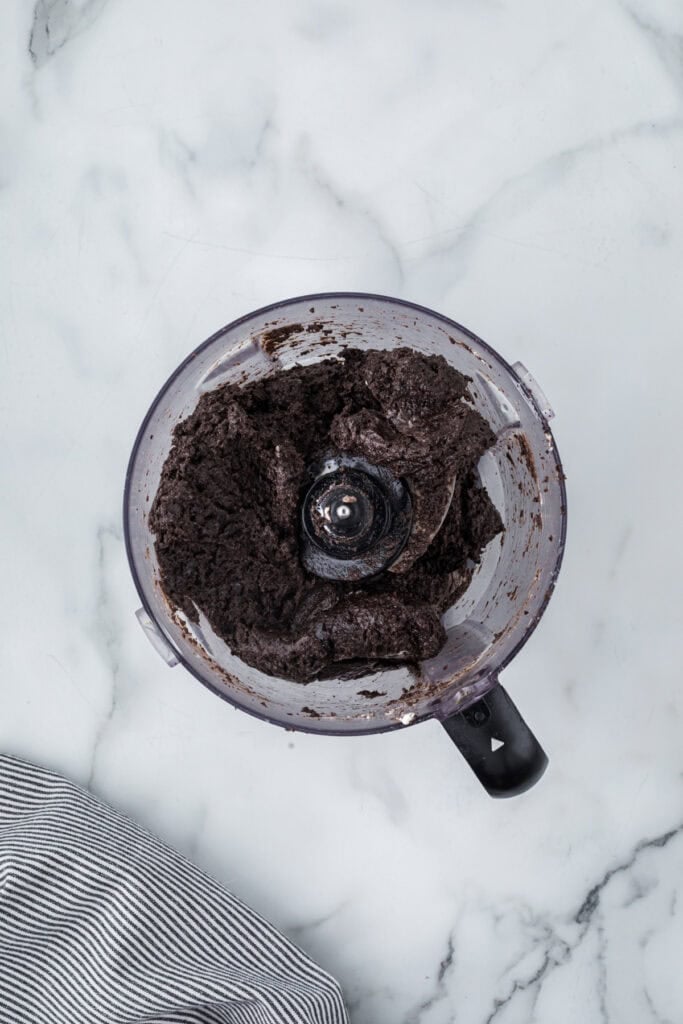
Step 1. Finely crush Oreo cookies in a food processor, or if you don’t have one, use a gallon-sized Ziploc bag with a rolling pin to crush the cookies. Add the cream cheese to the food processor to mix together if your food processor is big enough, or beat together with an electric or stand mixer.
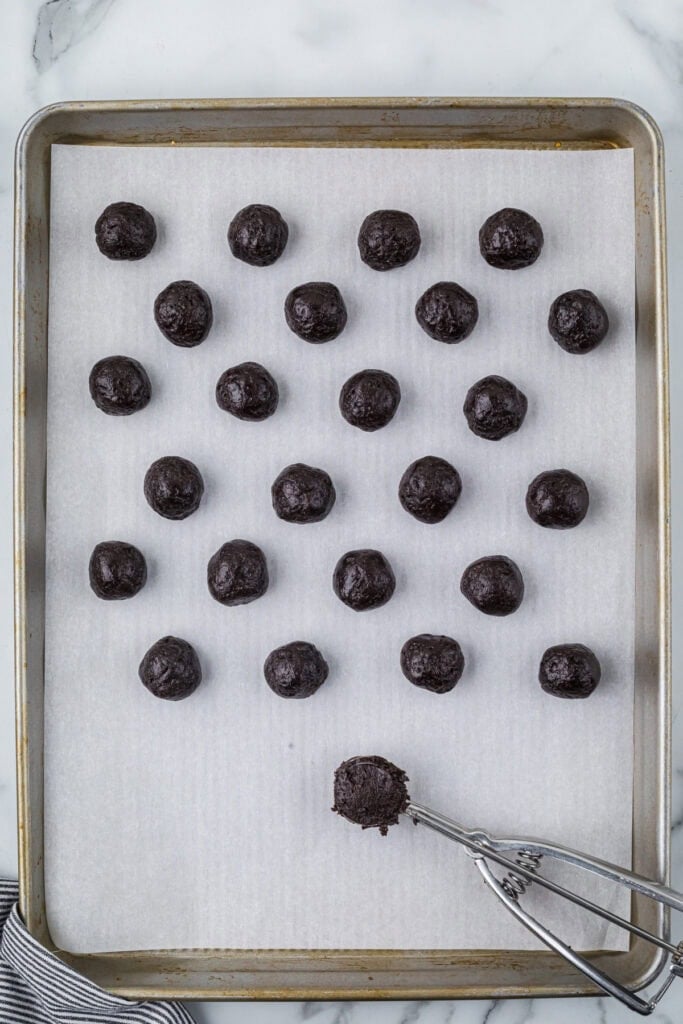
Step 2. Using a small cookie scoop (about 1 tablespoon of dough), roll the dough into 1-inch balls and place them 1-2 inches apart on the baking sheet. Loosely cover the dough and refrigerate for at least one hour or for up to 2 days. You want the balls cold so they don’t fall apart when dipped in the candy melts.
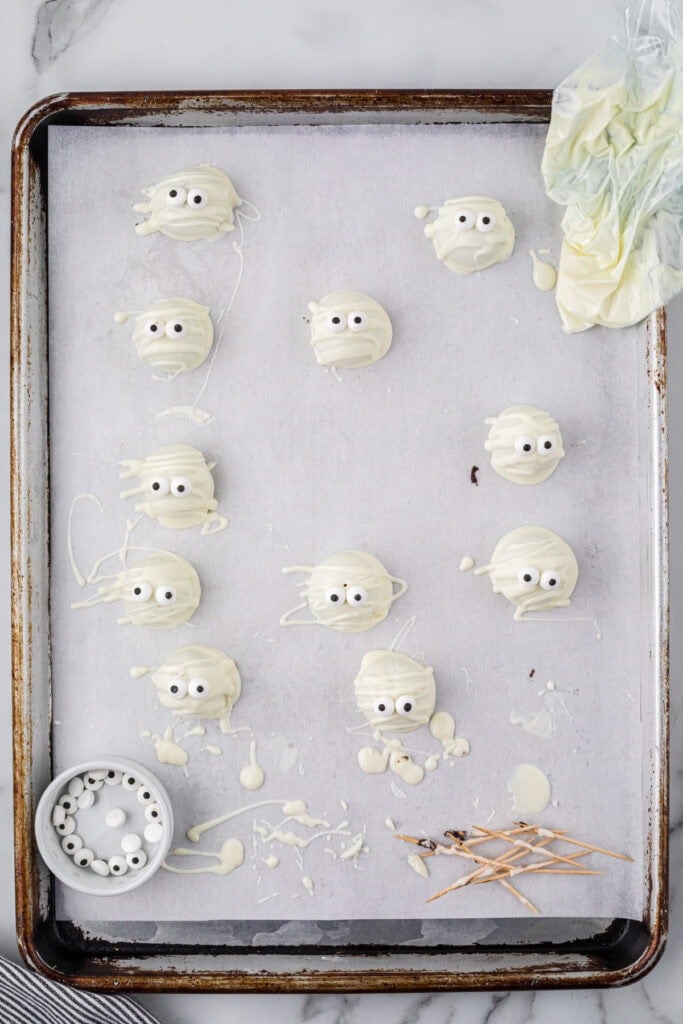
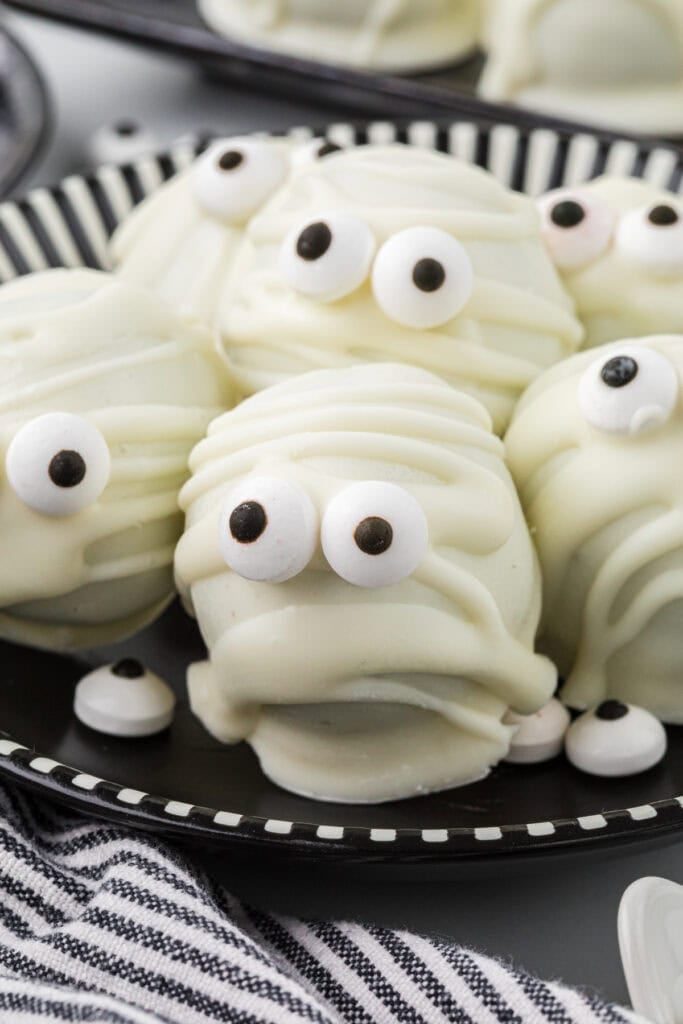
- Step 3. For the dipping, use your second prepared baking sheet. Working in small batches to keep the other Oreo balls chilled, place a toothpick in the center of the Oreo ball to dip it, or use a fork or dipping tool. Dip an Oreo ball into the melted candy one at a time and turn it as needed to make sure it is completely covered. If using a candy dipping tool or a fork, gently lift the Oreo ball out with the fork prongs underneath the ball and tap the fork or tool against the side of the cup to help the excess chocolate drip off. If using the toothpick method, the process is the same; then place the Oreo ball on the prepared baking sheet, wait for the candy coating to dry for 5 minutes or so, and slightly turn and pull out the toothpick
Step 4: After dipping all of the Oreo balls, once they have set for 5-10 minutes, place the remaining melted candy in a small Ziploc bag, remove any extra air, and seal it. Cut a very small hole in a corner of the bag. Squeeze the bag and drizzle the white melted candy back and forth horizontally over the top of an Oreo ball, one at a time. Immediately press two candy eyeballs on the drizzle while it’s still wet, and repeat with the remaining Oreo balls. Refrigerate to set for one hour before serving.
Tips

- I love using a small (1 tablespoon) cookie scoop to scoop the dough and roll into balls. It makes the Oreo balls uniform in size, and it is easy to use.
- If you would like to try using a dipping tool, rather than a fork, this spiral dipping tool is good for Oreo balls.
- I like using Ghiardelli brand White Vanilla Flavored Candy Wafers for dipping the Oreo balls in when making these Mummy Oreo Balls. My local grocery store carries them, or you can click the link above to buy from Amazon.
- I use Wilton brand edible candy eyeballs, also available at my local grocery store, or you can buy them from Amazon here.

Frequently Asked Questions
| Can Mummy Oreo Balls be made in advance? |
| Oreo Balls can last up to 2 weeks stored in an airtight container in the fridge and can absolutely be made in advance. You can roll the balls and store them in advance before dipping them, and dip them the day you are serving them or the day before. You can also store the finished Oreo balls in an airtight container in the fridge for up to two weeks. |
| How do I store Mummy Oreo Balls? |
| a. Store the Oreo Balls in an airtight container in the fridge in a single layer for up to 2 weeks. I use a Tupperware container and use waxed paper to separate the layers if I need to stack them so they don’t stick together. b. These freeze really well and can be stored in an airtight container in the freezer for up to 2-3 months. Thaw in the fridge overnight before serving. |

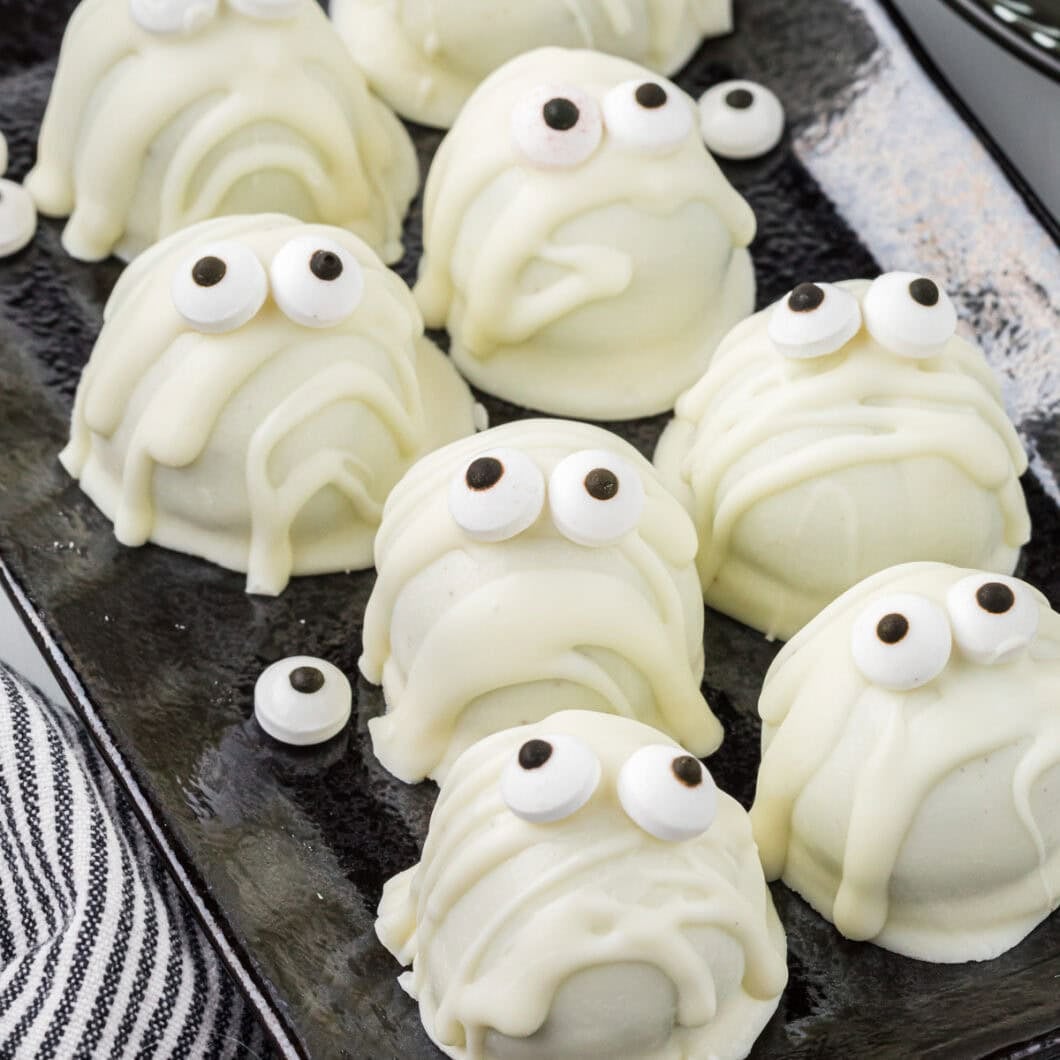
Mummy Oreo Balls
These spooky and silly Mummy Oreo Balls have a creamy, chocolatey Oreo center, a sweet candy coating and drizzle, and edible candy eyeballs, making them bite-sized and delicious Halloween mummies. They are easy, no-bake treats, perfect for Halloween parties and gifting. Gather the kids to help make them; they are as much fun to make as they are to eat!
30
minutes2-48
hours40-44
Oreo ballsIngredients
36 Regular Oreos (not Double Stuf)
8 -ounce cream cheese
Two 10-ounce packages White Vanilla Flavored Candy Wafers (I like using Ghirardelli brand)
Directions
- Line 2 baking sheets with parchment paper, one to use when making the Oreo balls, and one to use when dipping them.
- Finely crush Oreo cookies in a food processor, or if you don’t have one, use a gallon-sized Ziploc bag with a rolling pin to crush the cookies.
- Add the cream cheese to the food processor to mix together if your food processor is big enough, or beat together with an electric or stand mixer.
- Using a small cookie scoop (about 1 tablespoon of dough), roll the dough into 1-inch balls and place them 1-2 inches apart on the baking sheet. Loosely cover the dough and refrigerate for at least one hour or for up to 2 days. You want the balls cold so they don’t fall apart when dipped in the warm melted candy.
- Melt the candy wafers in the microwave in a 2-cup measuring cup (it’s a nice size for dipping) according to the package directions, making sure to heat in 15-30 second intervals at a lower power. Wait 3-5 minutes for the candy to cool so it’s not too hot when dipping.
- For the dipping, use your second prepared baking sheet. Working in small batches to keep the other Oreo balls chilled, place a toothpick in the center of the Oreo ball to dip it, or use a fork or dipping tool for dipping. If the melted candy is thicker, I use a fork. I like using a toothpick if the melted candy is thinner.
- Dip an Oreo ball into the melted candy one at a time and turn it as needed to make sure it is completely covered. If using a candy dipping tool or a fork, gently lift the Oreo ball out with the fork prongs underneath the ball and tap the fork or tool against the side of the cup to help the excess chocolate drip off. I lightly drag the bottom of the Oreo ball over the measuring cup to release extra coating on the bottom of the Oreo ball. The process is the same if using a toothpick; let the excess drip off and slightly drag the bottom of the ball over the measuring cup.
- To release the ball, if using a fork, take a clean toothpick and slide it across the top of the fork to release the coated ball and place it on the prepared baking sheet. If using a spiral dipping tool, turn it upside down to release it. If using the toothpick method, place the Oreo ball on the prepared baking sheet, wait for the candy coating to dry for 5 minutes or so, and slightly turn and pull it out.
- If the candy starts to harden, you can reheat it for 15 seconds in the microwave and stir. When the melted white candy runs out, open the second bag and melt it the same way. If you can still see a lot of the dark Oreo ball through the candy coating after dipping the Oreo balls, you can do a second coat and repeat the process if desired. After dipping all of the Oreo balls, once they have set for 5-10 minutes, place the remaining melted candy in a small Ziploc bag, remove any extra air, and seal it. Cut a very small hole in a corner of the bag. Squeeze the bag and drizzle the white melted candy back and forth horizontally over the top of an Oreo ball, one at a time. Immediately press two candy eyeballs on the drizzle while it’s still wet, and repeat with the remaining Oreo balls.
- Place the baking sheet in the fridge to set for about 1 hour. Serve immediately or place in an airtight container in the fridge for up to 2 weeks.
Notes
- To prevent the candy from overheating, always melt the candy at 50% power in your microwave. After the first 30 seconds of heating, heat in 15-second intervals and stir well in between each interval. The candy continues to melt while being stirred.
- If the candy starts to thicken while you are dipping, reheat for 10-15 seconds, stir, and continue dipping. Never add liquids to the candy melts, as it can cause the candy to seize. If needed, you can add 1-2 teaspoons of vegetable shortening to the candy to thin.
- Either waxed paper or parchment paper can be used to line your baking sheets. I slightly prefer the parchment paper. I definitely recommend using either to ensure the Oreo balls don’t stick to the pan and for easier cleanup.
- Place the candy eyeballs on the dipped and drizzled Oreo balls right after applying the drizzle to make sure the eyeballs stick to the melted candy.