We love this easy, foolproof Pie Crust Using a Food Processor. The crust is light and flaky, easy to roll out and transfer to a pie pan, and it keeps its shape when baking. We love this crust with pies and quiches. It elevates the flavor and texture of everything I have made it with and is so easy to make using a food processor. It really is a must try!
What we love about this Food Processor Pie Crust
I love our pie crust recipe! It is easy and foolproof. I have tried many pie crust recipes that were so much more challenging and frustrating. I love that the dough comes together in the food processor. It rolls out and transfers easily to the pie pan and shrinkage is minimal when you bake it. I use half butter and half shortening in the dough. The shortening helps the dough maintain its shape and structure while adding additional tenderness and flakiness to the crust. The cold butter adds flavor, color, and tenderness by creating little air pockets that steam in the oven as it bakes adding to the pie’s flakiness. This pie crust is perfect with custards and liquid fillings, no soggy crust at all! This homemade pie crust elevates any quiche or pie it is easy to do. If you haven’t had success with or tried to make a homemade pie crust before, give this recipe a try!
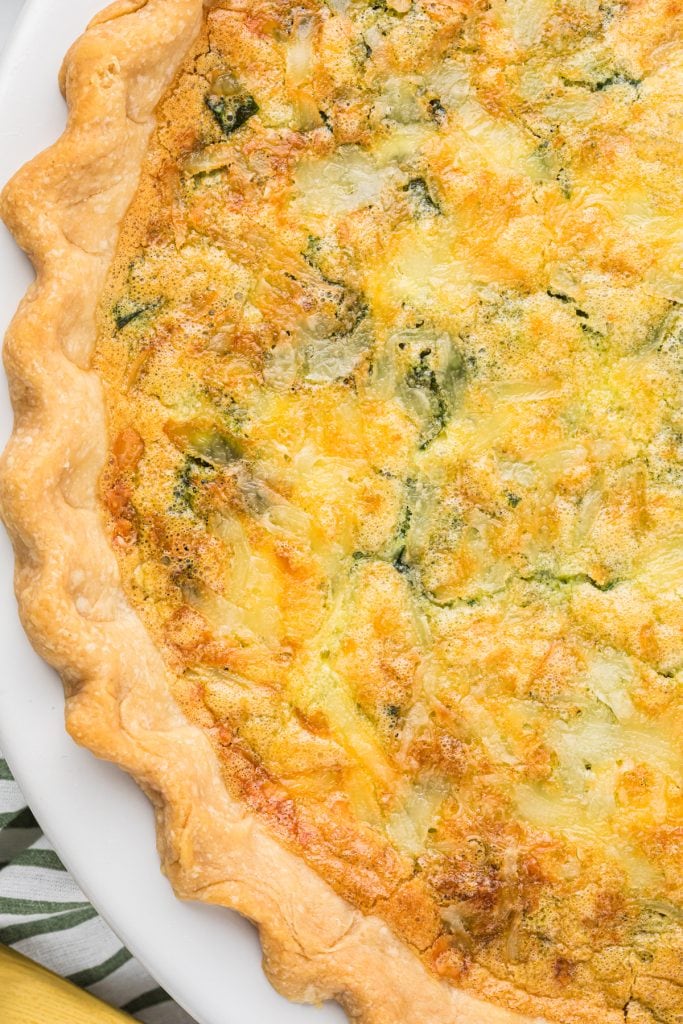
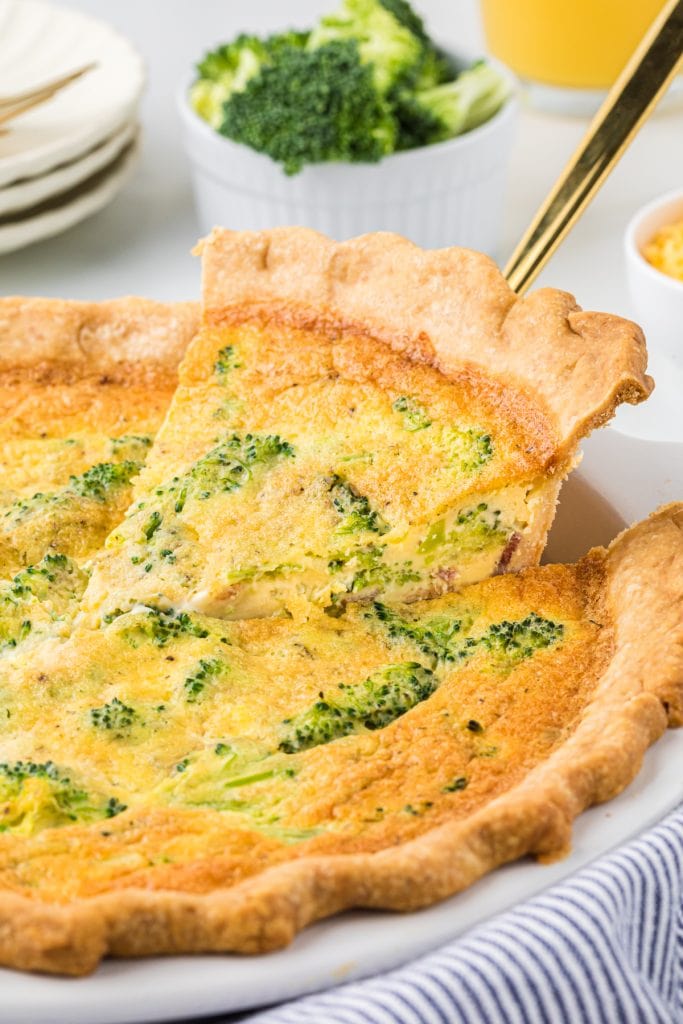
This crust tastes amazing with our Spinach Bacon Quiche!
What you need to make Pie Crust using Food Processor
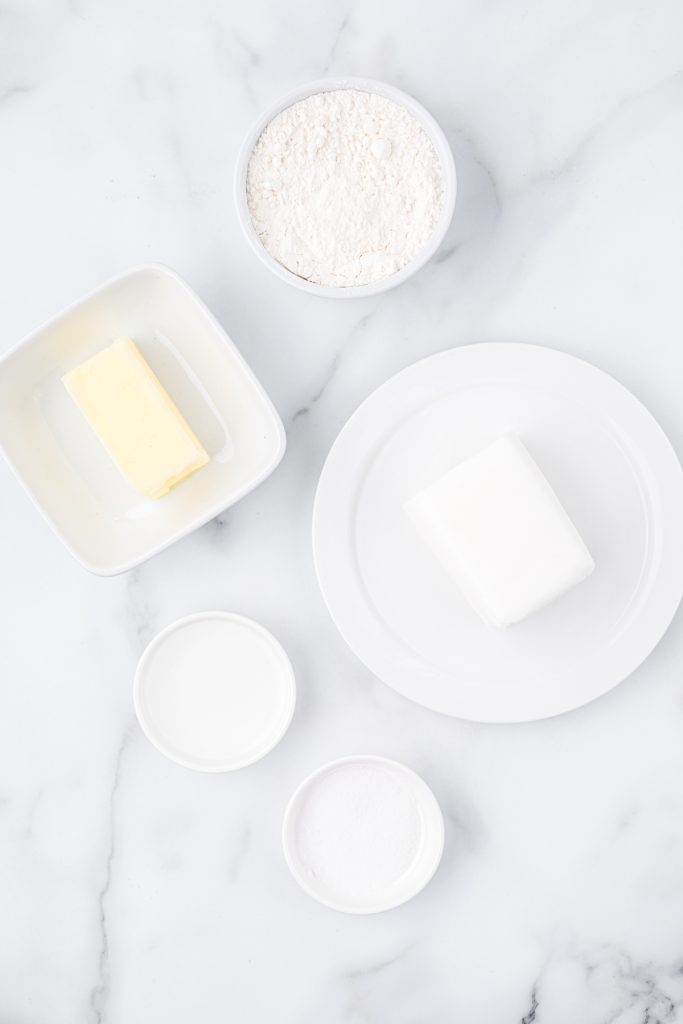
You will need the following ingredients:
- Flour
- Salt
- Unsalted butter
- Vegetable shortening
- Ice water
Food Processor Pie Crust Recipe
I know what it’s like when you don’t have everything on hand and the last thing you want to do is run to the store and pick something up. Here are a few ideas to substitute items on the ingredients list if needed:
- If you only have salted butter, that can be substituted for unsalted butter, but I would reduce the salt in the recipe to 1/4 teaspoon.
- You can absolutely use 1/2 cup of butter with no shortening, or 1/2 cup of shortening with no butter. I like a combination of the two because I prefer the flavor of the butter, but find the dough is easier to work with and has a little better structure with the shortening. They both contribute to a light and flaky crust. You also don’t have to do half of each but could do more butter than shortening, or vice versa, as long as the total amount is 1/2 cup.
- I have made gluten-free crusts, but the recipe was different and had other ingredients, not just 1:1 flour. I haven’t recipe tested this exact recipe with gluten-free flour, but other flours could possibly be substituted.
- Don’t have a food processor? You can also cut the butter and shortening into the flour using two knives or a pastry cutter. You can also use your hands, but that really warms the butter. You really want to work fast and keep the butter cold.
Step-by-step Instructions
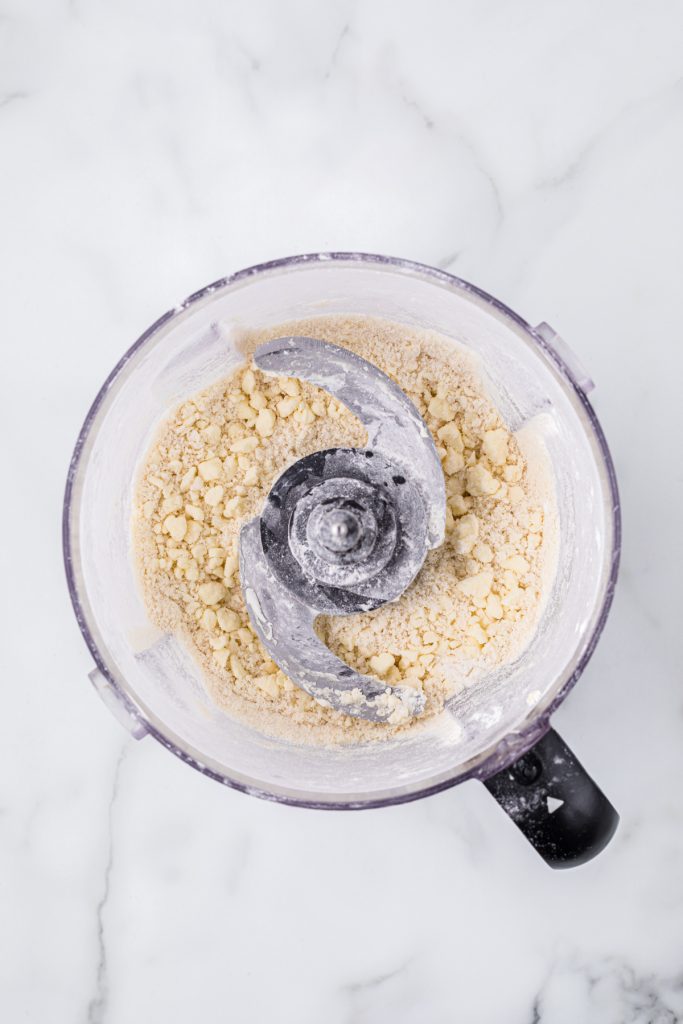
Step 1. Add flour and salt to a food processor, and pulse once or twice to mix. Add butter and shortening and pulse several times until the butter and shortening are blended with the flour and it looks like coarse meal, or bits of dough scattered throughout that look like small peas.
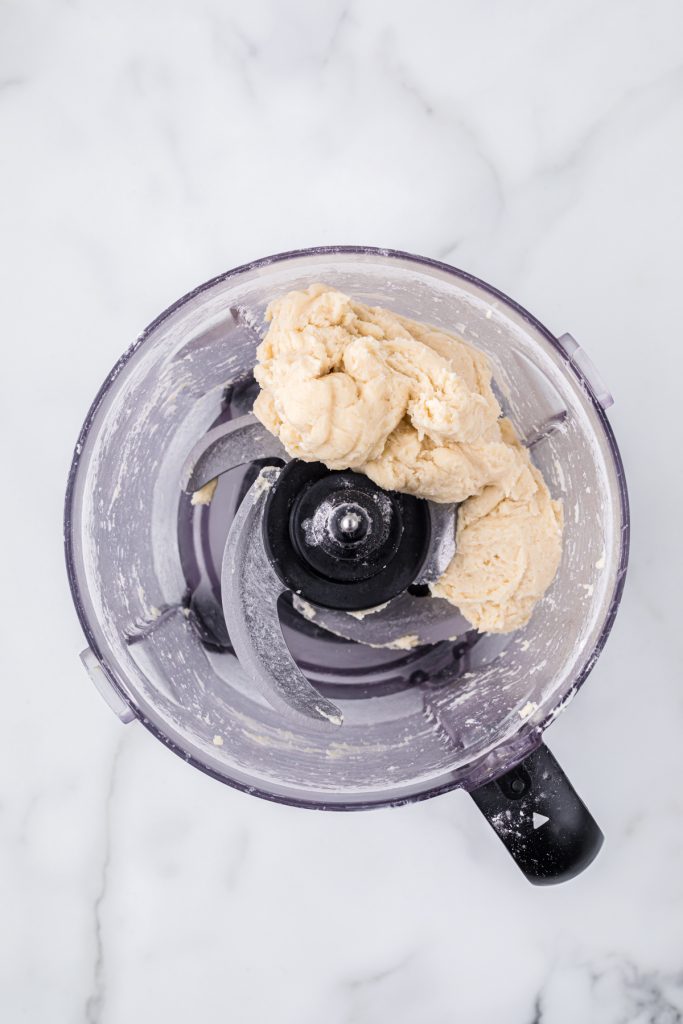
Step 2. Add water and pulse a few times, one tablespoon at a time, until the dough starts to come together and can be pressed into a ball. After 3 tablespoons, I just add a half tablespoon at a time. You don’t want to add too much water or the dough can be more difficult to work with if it is too wet.
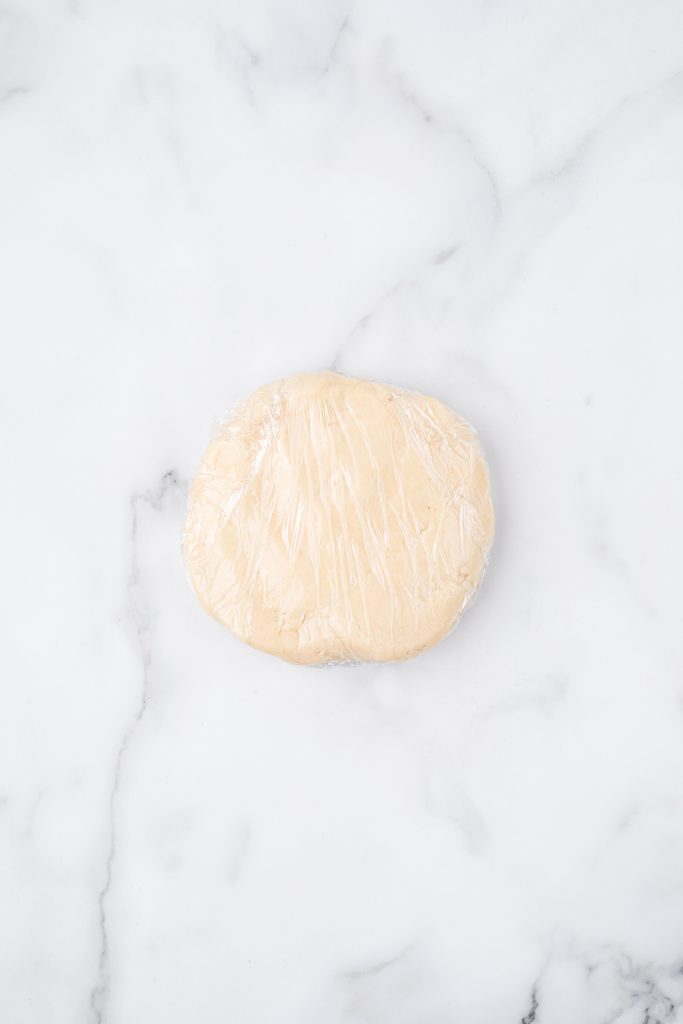
Step 3. Turn the dough onto a lightly floured surface and form the dough into a ball. Flatten the ball with your hands into a small circle and wrap it well with plastic wrap. Refrigerate the dough for 30 minutes.
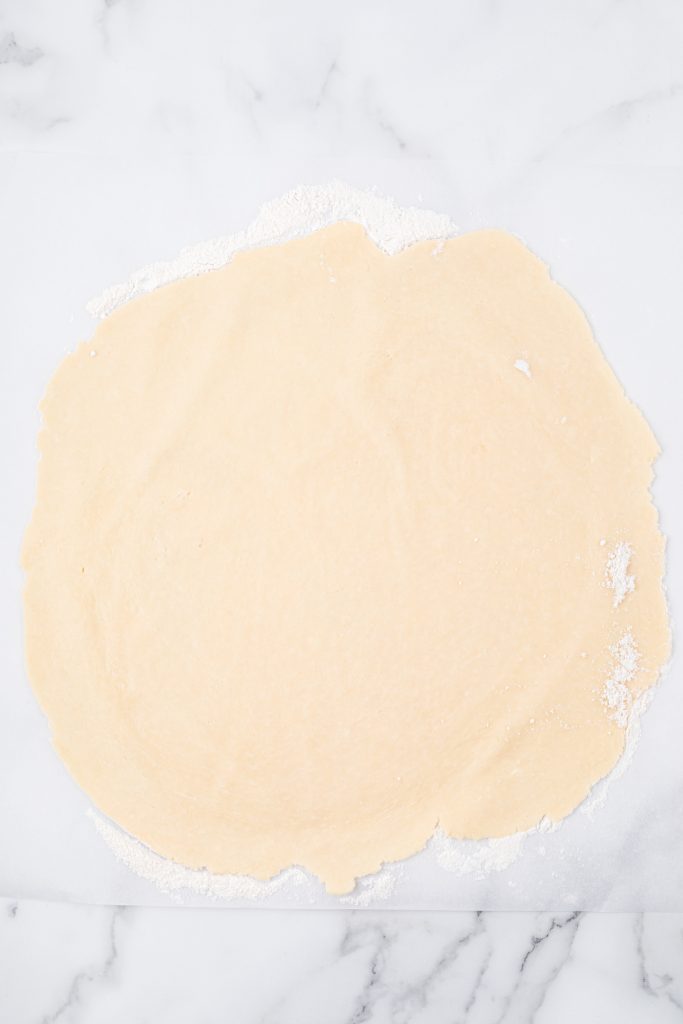
Step 4. Unwrap the dough and place it on a lightly floured surface. Using a lightly floured rolling pin, start at the center of the disc and roll the dough out in all directions to make an even 13-inch circle
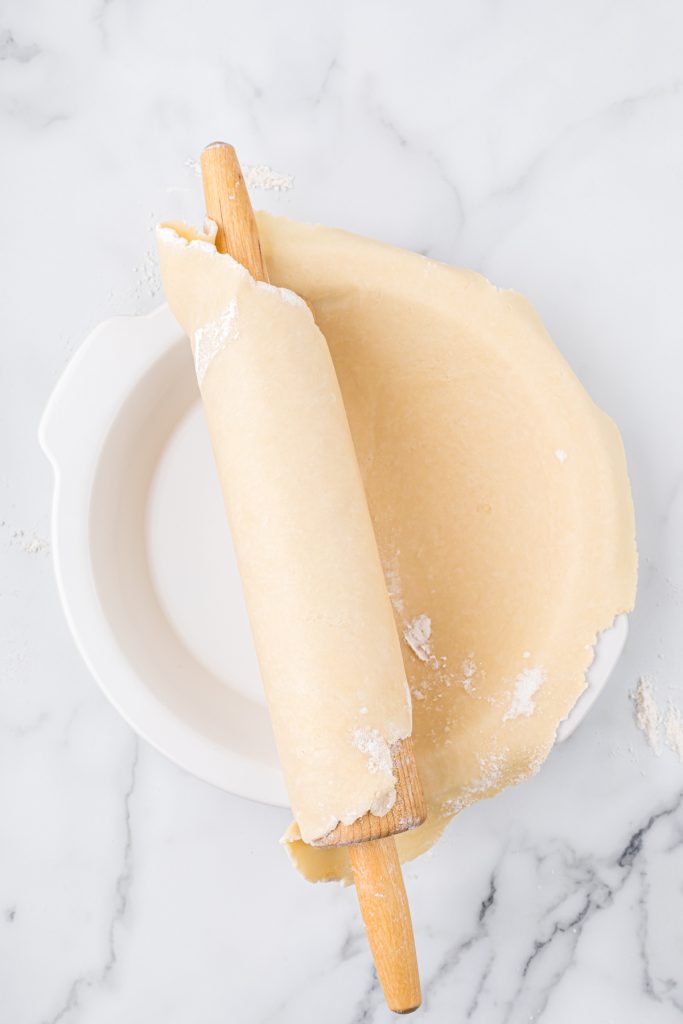

Step 5. Loosely roll the dough around the rolling pin, carefully lift it, and place it in a 9-inch pie pan, unrolling the dough so that it evenly and fully covers the pan’s inside sides and edges.
Step 6. Without stretching the dough, gently press it down onto the bottom and sides of the pan. Trim the overhanging dough about an inch from the rim and fold the excess under itself to make an even edge around the pan.

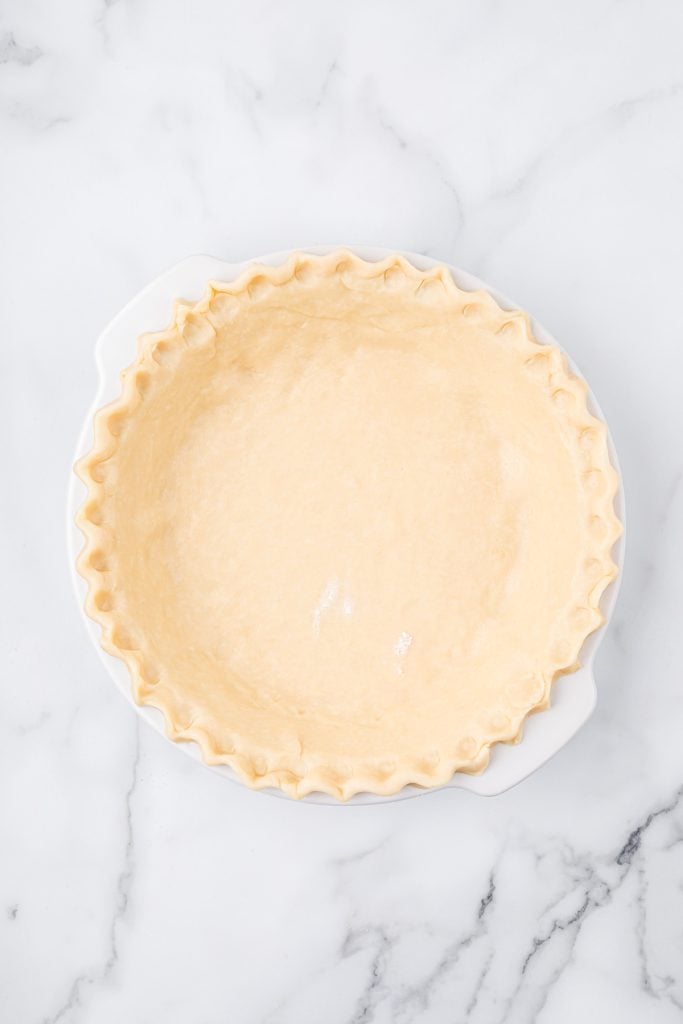
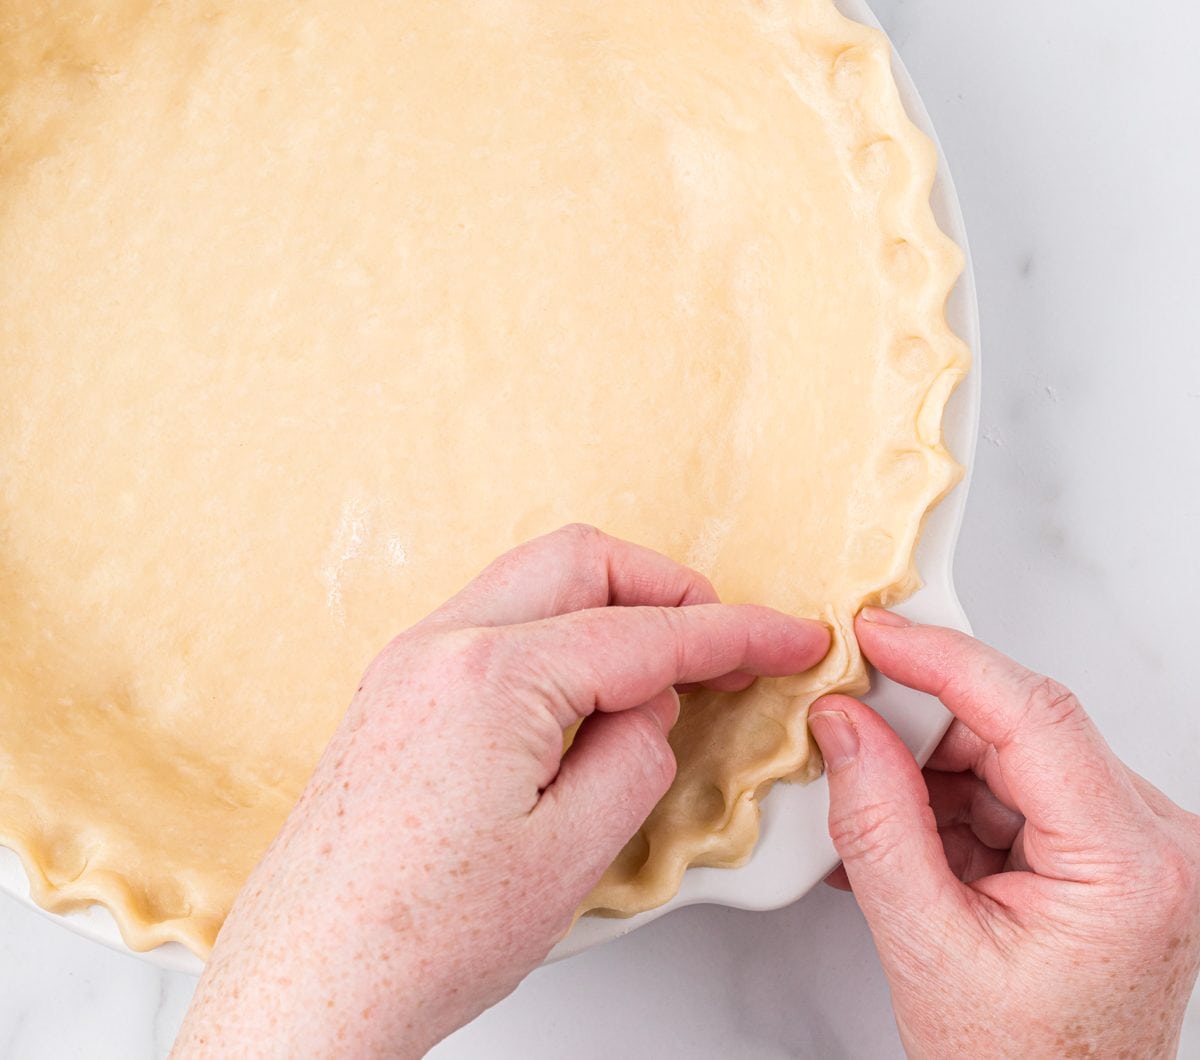
Step 7. Using the finger or knuckle of one hand and your thumb and pointer finger of your other hand, press the finger or knuckle of one hand and gently push the dough to the edges of your thumb and pointer finger of your other hand to flute the edges.
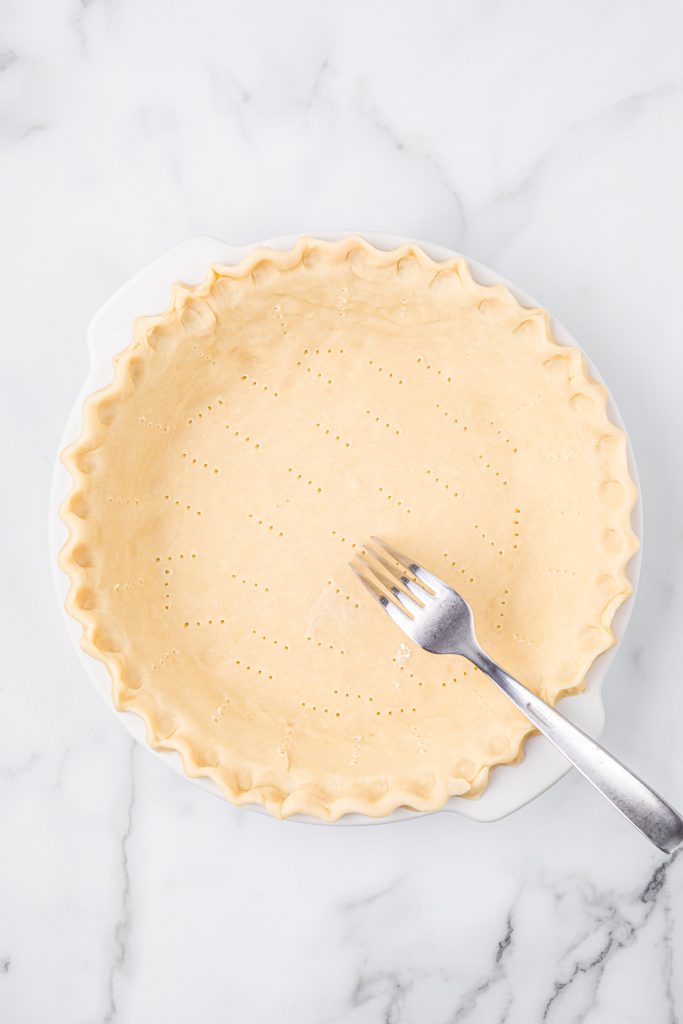
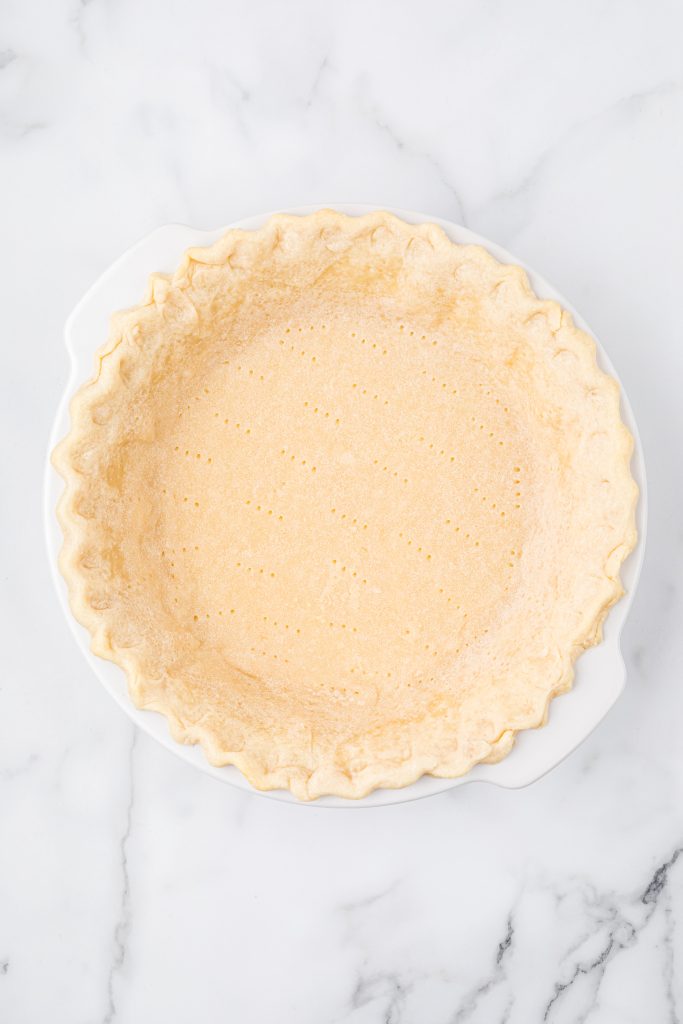
Step 8. Place the pie in the freezer for 10-15 minutes to make sure the dough is firm and cold before parbaking and preheat the oven to 400 degrees Fahrenheit while the dough cools. Remove the crust from the freezer and using a fork, poke holes in the bottom and sides of the dough to keep the dough from bubbling up as it bakes.
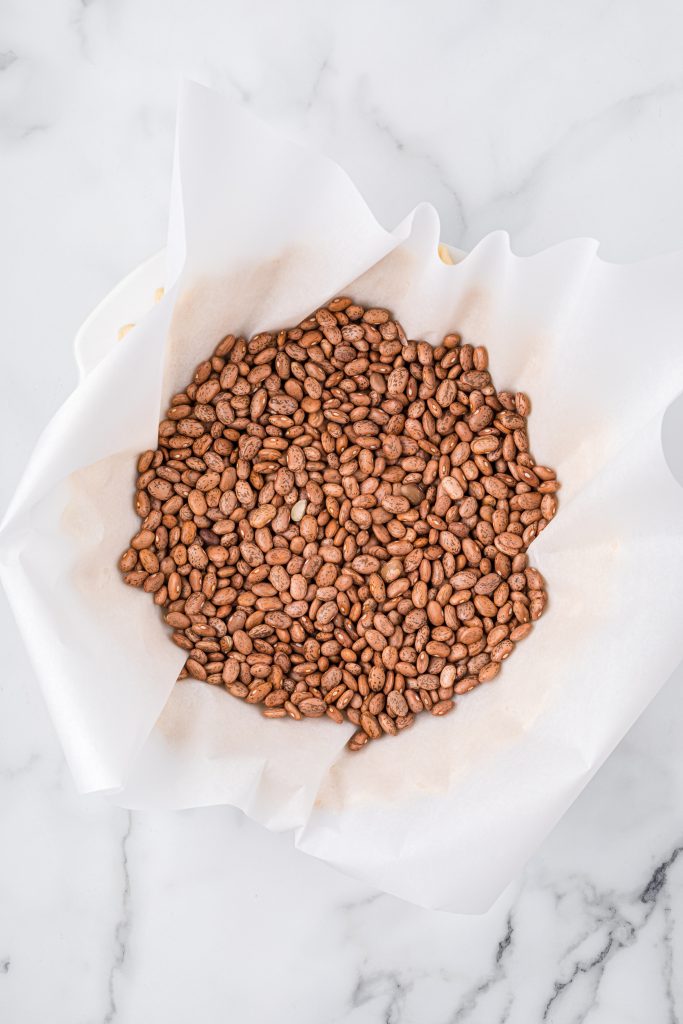
Step 9. Line the dough with parchment paper and fill it about halfway with pie weights; dried beans or rice work well
Step 10. To par-bake, where you will continue to bake the crust with a liquid or custard filling, bake the crust for 10-12 minutes, then remove from the oven and carefully remove the parchment paper and weights. (The inside won’t look completely cooked). Let the crust cool, follow the recipe instructions to fill with the filling/custard, and return to the oven to bake.
Tips

You don’t have to be a pro-baker to make a pie crust. That is why I love this recipe which makes the cutting butter and flour easy with a food processor and the butter/shortening/flour ratio makes the pie easy to work with and tastes great. I have a Ninja food processor that came as an attachment with a blender a few years ago. It has worked really well for me and I have used it for various doughs for pies and tarts.
These 9-inch pie pans are the perfect depth for quiches and pies. This brand has pie pans with fluted edges or flat. I own both kinds and often use the flat pan for quiches.
As an Amazon Associate, I earn from qualifying purchases.
Frequently Asked Questions
| How to store pie dough? |
| Pie dough, well wrapped, can stay in the fridge for 2-3 days and in the freezer for up to 3 months. When you are ready to use the pie dough, thaw overnight in the fridge before using. You will need to let it come to room temperature for at least 10 minutes before rolling out. |
| How to store pie dough after it is shaped in the pan or after it is baked? |
| a. To store the pie dough after it is shaped in a pan or baked, place it in a freezer-safe bag to store, the 2-gallon sized bags are a nice size, and make sure your pie pan is freezer-safe. You can bake it frozen, just make sure to bring it to room temperature while your oven preheats. b. To store a baked pie crust, wrap it in foil and place it in a freezer-safe bag. Store it up to one month and thaw overnight in the fridge before using |
| What fillings can I use with this pie crust? |
| This pie crust is ideal for both sweet and savory fillings, we use this with both quiches and pies. Custard, pudding, and fruit fillings are all excellent with this pie crust, be sure to partially bake or fully blind bake based on the recipe. |
Pie Crust Using a Food Processor
8
servings20
minutes45
minutes, divided10-25
minutes for par baked or blind baked75-90
minutesWe love this easy, foolproof Pie Crust Using a Food Processor. The crust is light and flaky, easy to roll out and transfer to a pie pan, and it keeps its shape when baking. We love this crust with pies and quiches. It elevates the flavor and texture of everything I have made it with and is so easy to make using a food processor. It really is a must try!
Ingredients
1 ¼ cups all-purpose flour, measured by scooping and leveling, plus additional for dusting
½ teaspoon salt
¼ cup cold unsalted butter (½ stick), cut into ½ inch cubes
¼ cup refrigerated shortening, cut into ½ inch cubes
3 -4 tablespoons of ice water (3 ½ seems to be the perfect amount for me each time)
Directions
- Add flour and salt to a food processor, and pulse once or twice to mix. Add butter and shortening and pulse several times until the butter and shortening are blended with the flour and it looks like coarse meal, or bits of dough scattered throughout that look like small peas. Don’t over-process which results in a tough/dense pastry!
- Add water and pulse a few times, one tablespoon at a time, until the dough starts to come together and can be pressed into a ball. After 3 tablespoons, I just add a half tablespoon at a time. You don’t want to add too much water or the dough can be more difficult to work with if it is too wet.
- Turn the dough onto a lightly floured surface and form the dough into a ball. Flatten the ball with your hands into a small circle and wrap it well with plastic wrap. Refrigerate the dough for 30 minutes.
- Unwrap the dough and place it on a lightly floured surface. Using a lightly floured rolling pin, start at the center of the disc and roll the dough out in all directions to make an even 13-inch circle.
- Loosely roll the dough around the rolling pin, carefully lift it, and place it in a 9-inch pie pan, unrolling the dough so that it evenly and fully covers the pan’s inside sides and edges.
- Without stretching the dough, gently press it down onto the bottom and sides of the pan.
- Trim the overhanging dough about an inch from the rim and fold the excess under itself to make an even edge around the pan.
- Using the finger or knuckle of one hand and your thumb and pointer finger of your other hand, press the finger or knuckle of one hand and gently push the dough to the edges of your thumb and pointer finger of your other hand to flute the edges.
- Place the pie in the freezer for 10-15 minutes to make sure the dough is firm and cold before parbaking and preheat the oven to 400 degrees Fahrenheit while the dough cools.
- Remove the crust from the freezer and using a fork, poke holes in the bottom and sides of the dough to keep the dough from bubbling up as it bakes.
- Line the dough with parchment paper and fill it about halfway with pie weights; dried beans or rice work well.
- To par-bake, where you will continue to bake the crust with a liquid or custard filling, bake the crust for 10-12 minutes, then remove from the oven and carefully remove the parchment paper and weights. (The inside won’t look completely cooked). Let the crust cool, follow the recipe instructions to fill with the filling/custard, and return to the oven to bake.
- To fully blind bake (where the crust is fully cooked and filled with a pre-cooked filling), bake the crust for 10-12 minutes, then remove from the oven and remove the parchment paper and weights. Return the pan to the oven and bake for another 10-15 minutes. Let the crust cool completely and fill with the desired filling.
Notes
- For a light and flaky pie crust, you really want to keep the butter and shortening cold throughout the entire process, I sometimes return it to the fridge or freezer briefly after cubing before cutting it into the flour. The butter, when cold, steams when it cooks, creating steam pockets that create a light, flaky texture. I refrigerate the dough before rolling it out and then put it briefly in the freezer after fluting the edges to keep it cold and firm before adding the pie weights and baking it, which also helps to minimize shrinkage when it bakes.
- When using a processor to cut the butter into the flour, I briefly pulse the dough in each stage, don’t leave it running a long time. Over-processed dough makes a dense and tough pie shell.
- I try and work quickly when rolling out the dough, trimming the dough, and fluting the edges. Working quickly keeps the dough cold and easier to work with, minimizing any tearing, and it also results in a more light and flaky pastry since the butter stays cold.
- The ice water in the recipe keeps the butter cold and interrupts gluten development, which you don’t want in a pie crust. Make sure to put a little ice in that water before you use it.
- A tear or small hole in the pie crust before baking can easily be fixed by patching it with some additional dough that was trimmed off before fluting or by using your fingers to slightly press the dough back together, with wet fingers if needed.
- If you end up refrigerating the dough longer than the 30 minutes suggested in the recipe and the dough is hard, let it rest at room temperature at least 10 minutes before rolling to make rolling the dough easier.
- You can double this dough for a double crust pie if needed. When rolling out the dough for a top crust, it doesn’t need to be as large and instead can be 11 or 12 inches in diameter.


I have never used a food processor before for pie crust dough – I will try this one for sure.
Thanks for stopping by to check out the recipe and leave a review! Let me know if you try the food processor method! It’s a time and hand saver and turns out so well!
I’ve never had much luck with fancy pie crusts-I think I over mix-this looks really good-and I think I’ll try this.
I have had my share of frustration with various pie crust recipes as well. This recipe has been a keeper for me and works great every time. Let me know if you decide to try it! Thanks, Kelly, for taking the time to stop by and leave a review! Happy baking!
I’ve always struggled with getting pie crust just right, but this method makes it look so simple! I love how the food processor keeps the butter cold and gives that perfect flaky texture. Can’t wait to try this for my next apple pie!
I am so glad the recipe is helpful! This pie crust works consistently every time, and has a great flavor and texture. I hope you enjoy using it!
This was truly a foolproof pie crust. The food processor made it a breeze. What I really loved was how flaky it made the crust. It brought my chocolate pie to another level.
I love hearing this, I am so glad the pie crust was successful for you! This recipe works wonderfully every single time. Thanks for taking the time to leave your feedback!