These Kitchen Sink Christmas Cookies are the ultimate salty-sweet combination cookie. Packed with red and green M&Ms, crushed pretzels, potato chips, chocolate chips, white chocolate chips, and red and green sprinkles, they are a festive, delicious cookie and my kids’ absolute favorite.

What we love about these Christmas Kitchen Sink Cookies
These cookies are incredibly addicting and so, so, good. We love the salty-sweet combination and the slight crunch from the pretzels and chips. The pretzels and chips are such a great pair with the chocolate. The cookies are ultra chocolatey, too, with M&M’s, chocolate chips, and white chocolate chips. They are a huge kid favorite. My 16 year-old for his summer birthday didn’t want cake or pie, he asked for these cookies!
These cookies are particularly festive with the red and green M&Ms and sprinkles, but you can absolutely make these year round with regular sprinkles and M&Ms. Plus, the fun thing about kitchen sink cookies is you can mix in whichever add-ins you want! Have fun and try them with butterscotch or peanut butter chips, toffee chunks or candy bar pieces, nuts, etc!
Looking for more delicious cookie recipes? Try our Cranberry and Walnut Cookies, or are Chocolate Chip Pretzel Cookies, for another salty-sweet treat!
What you need to make these Kitchen Sink Christmas Cookies
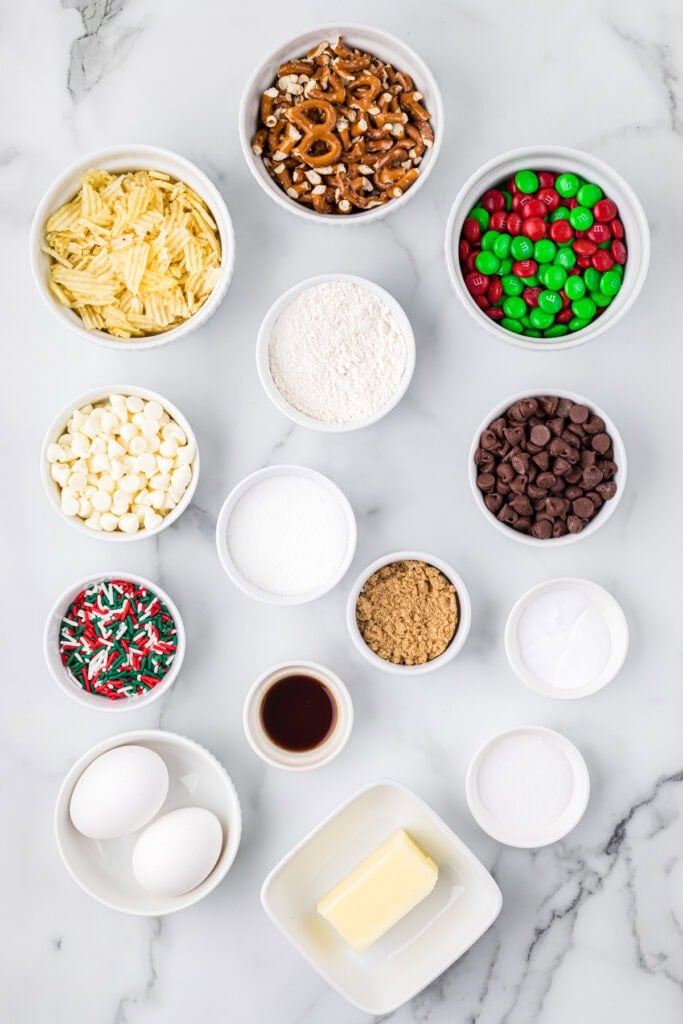
You will need the following ingredients:
- All-purpose flour
- Baking soda
- Salt
- Granulated Sugar
- Brown Sugar
- Butter
- Eggs
- Vanilla
- Red and green M&Ms
- Potato chips (I like ridged potato chips like Ruffles the best)
- Pretzels
- Semi-sweet chocolate chips
- White chocolate chips
- Red and green jimmies sprinkles
Kitchen Sink Cookie Recipe Substitutions
I know what it’s like when you don’t have everything on hand, and the last thing you want to do is run to the store and pick something up. Here are a few ideas to substitute items on the ingredients list if needed:
- I used Snyder’s brand of mini pretzels, but you could try different shapes or brands of pretzels.
- I like using ridged potato chips like Ruffles, just for presentation, and they can be a little more thick, but you can try a different kind of potato chip.
- The fun thing about kitchen sink cookies is you can mix in whichever add-ins you want! Have fun and try them with butterscotch or peanut butter chips, toffee chunks or candy bar pieces, nuts, etc. Just keep the amount of add-ins about the same. You can have a little less, but I wouldn’t add more than the total called for in the recipe.
- These cookies are particularly festive with the red and green M&Ms and sprinkles, but you can absolutely make these year round with regular sprinkles and M&Ms as well.
Step-by-step Instructions
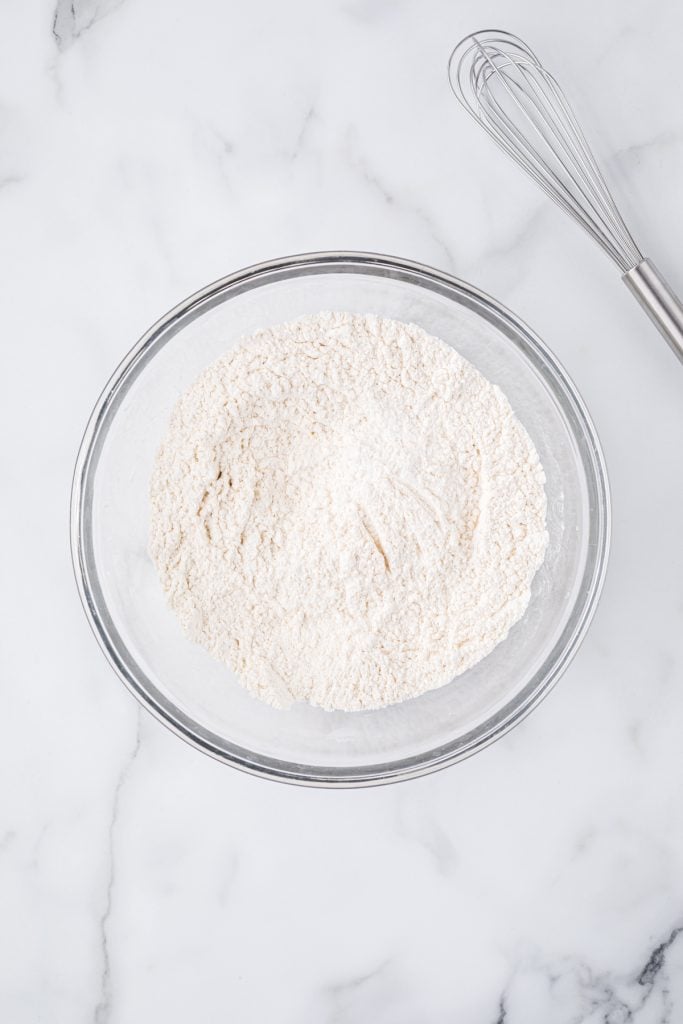
Step 1. In a medium-sized bowl, whisk together the flour, baking soda, and salt. Set aside.
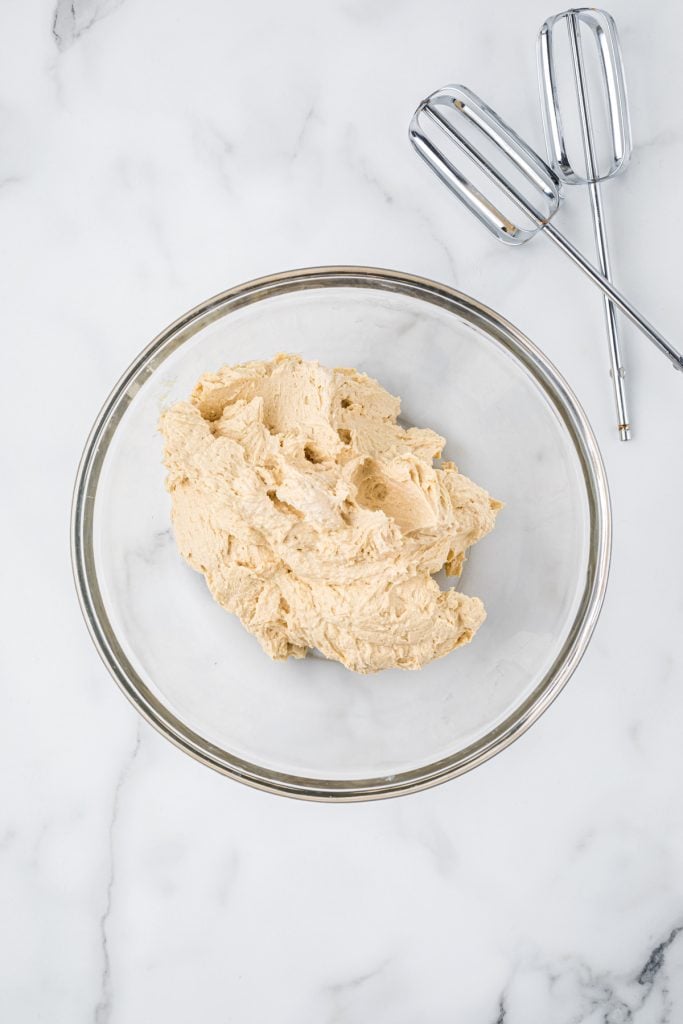
Step 2. In a separate large bowl with an electric mixer, or with a stand mixer, beat together the granulated sugar, brown sugar, and softened butter for 2-3 minutes until more light and fluffy. Add egg, egg yolk, and vanilla and blend until thoroughly mixed in.
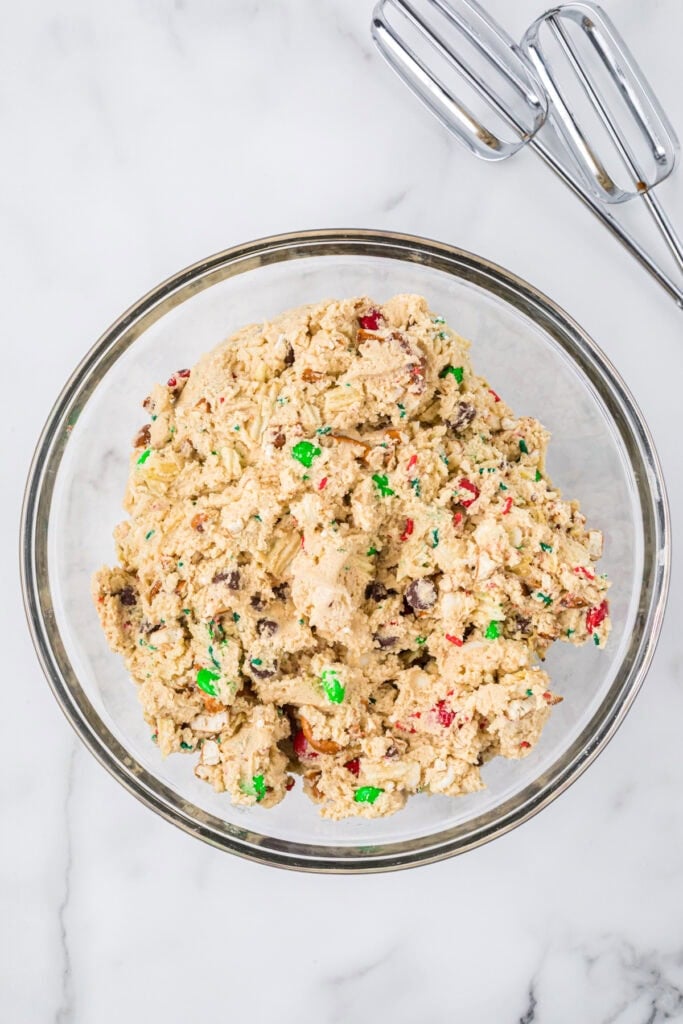
Step 3. Mix the dry ingredients into the dough just until the dry ingredients are incorporated. Do not over-mix. Mix in the M&Ms, crushed pretzels, crushed potato chips, chocolate chips, white chocolate chips and sprinkles just until evenly distributed. The dough will be stiff.
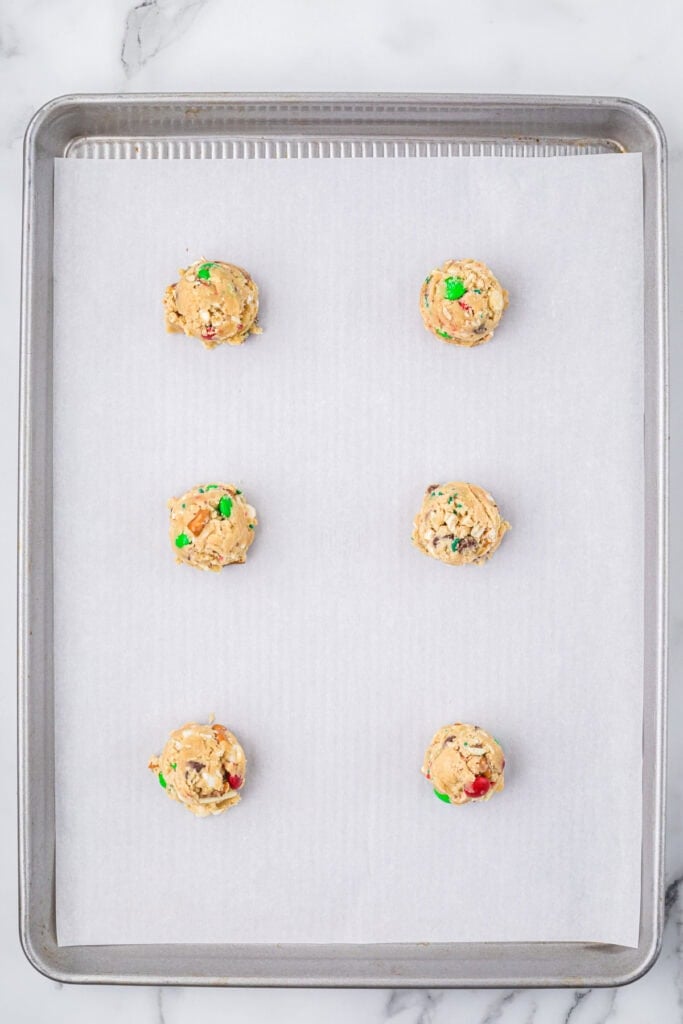
Step 4. Using a medium cookie scoop (about 2 tablespoons), scoop dough onto the prepared cookie sheet and space about 2 inches apart.
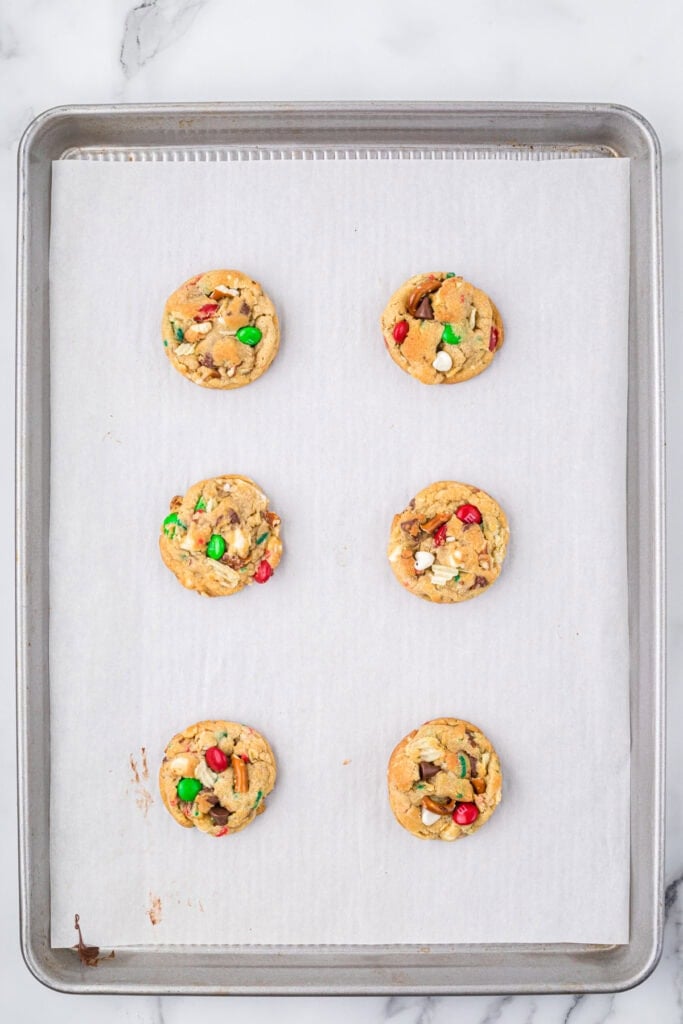

Step 5. Bake cookies at 375 degrees Fahrenheit for 8-10 minutes. Remove from the oven and immediately press the remaining crushed pretzel pieces and chocolate chips into the top of the cookies. Sprinkle the cookies with coarse salt if desired.
Step 6. Leave the cookies on the cookie sheet to cool for 2-5 minutes, then remove to a cooling rack to cool completely.
Tips

- I recommend keeping parchment paper on hand; it is especially helpful when baking cookies. Lining your pan with parchment paper helps prevent cookies from spreading when baking, which in turn helps prevent your cookies from becoming too thin and crispy. The cookies won’t stick to your pan, and pans are much easier to clean up. Also, the parchment paper creates a thin layer between the cookies and the pan, which helps promote even browning and prevents hot spots on your pan that may cause cookies to burn.
- I love using a cookie scoop when making cookies so that the cookies are a uniform size and shape. I use a medium cookie scoop for this recipe, which makes a scoop of about 2 tablespoons. I really like the one from Pampered Chef or this scoop from Amazon works great as well.
- Also, I love my USA pan baking sheets, they cook so evenly, are high quality, and long-lasting.

Frequently Asked Questions
| Can the cookie dough be made in advance? |
| The USDA says that cookie dough is safe in the fridge for 2-4 days. I have had success making this dough the day before, covering the dough in the fridge, and cooking the cookies the next day if I didn’t have time to bake them the day I made the dough. Before baking, keep the dough out at room temperature for about an hour or the dough will be hard to scoop. Also, because these cookies are packed with goodies, if the dough is too cold, the cookies won’t spread quite as much and you will get a smaller cookie. I would make sure the dough is close to room temperature before baking. |
| How do I store Kitchen Sink Cookies? |
| a. Store cookies in an air-tight container. I use a Tupperware container and use parchment paper to separate the layers when stacking so they don’t stick together. For best quality, store cookies at room temperature for 3-4 days, in the fridge for 1-2 weeks, and in the freezer for 3 months. b. You can also freeze cookie dough. Scoop them into 2 tablespoons portions and place them individually on a cookie sheet to freeze. Once frozen, they can be frozen in a sealed bag or container for up to 2 months. To thaw, set them on a cookie sheet ready to bake and let them sit at room temperature for 15-30 minutes while the oven preheats. I recommend cooking them at a lower temperature, 350 degrees Fahrenheit, and then baking them for a little longer, 10-12 minutes, keeping an eye on them. |


Kitchen Sink Christmas Cookies
20
minutes40
minutes30-36
cookies1
hourThese Kitchen Sink Christmas Cookies are the ultimate salty-sweet combination cookie. Packed with red and green M&Ms, crushed pretzels, potato chips, chocolate chips, white chocolate chips, and red and green sprinkles, they are a festive, delicious cookie and my kids’ absolute favorite.
Ingredients
2 1/2 cups all-purpose flour
1 teaspoon baking soda
3/4 teaspoon salt
3/4 cup granulated sugar
3/4 cup brown sugar, packed
1 cup butter (2 sticks), softened
1 egg, plus 1 egg yolk
1 1/2 teaspoons vanilla
3/4 cup + 2 tablespoons red and green M&Ms, divided
3/4 cup + 2 tablespoons crushed pretzels, divided (I put the pretzels in a resealable bag and use a rolling pin to break into pieces, but not so much that they are completely crushed)
3/4 cup + 2 tablespoons crushed potato chips, divided (Same process for crushing as the pretzels). I like ridged potato chips like Ruffles the best.
1/2 cup + 2 tablespoons semi-sweet chocolate chips, divided
1/2 cup + 2 tablespoons white chocolate chips, divided
2 tablespoons Christmas red and green sprinkles (jimmies)
Directions
- Preheat the oven to 375 degrees Fahrenheit.
- Line a baking sheet with parchment paper.
- In a medium-sized bowl, whisk together the flour, baking soda, and salt. Set aside.
- Using an electric hand-held mixer or a stand mixer, at medium speed, beat together the sugars and butter until light and fluffy, about 2-3 minutes. Scrape down the sides of the mixer. Add the egg, egg yolk, and vanilla and beat again until thoroughly mixed.
- Add the flour mixture to the sugar mixture and mix at low speed just until combined, being careful not to overmix. Scrape down the sides of the mixture to make sure all ingredients are incorporated.
- Stir in 3/4 cup M&Ms, 3/4 cup crushed pretzels, 3/4 cup crushed potato chips, 1/2 cup chocolate chips, 1/2 cup white chocolate chips, and the sprinkles. The dough will be stiff.
- Using a medium cookie scoop (about 2 tablespoons), scoop the dough onto the prepared cookie sheet and space the dough 2 inches apart.
- Bake the cookies for 8-10 minutes, until the bottoms of the cookies are just turning golden brown. Remove from the oven and immediately press some of the the remaining M&Ms, crushed pretzel pieces, crushed potato chips, chocolate chips, and/or white chocolate chips into the tops of the cookies, as desired for presentation. Leave the cookies on the cookie sheet to cool for 2-5 minutes, then remove to a cooling rack to cool completely. Serve immediately or store covered at room temperature for 3-4 days.
Notes
- To make your cookies in the best circular shape, right when you pull them from the oven, put a glass cup or a 2.5 to 3 inch circle cookie cutter around a cookie and move it around in a circular shape to help nudge the edges to make a more perfect circle.
- I like to press additional M&Ms, chocolate chips, pretzel pieces, or crushed potato chips on to the cookies after baking for presentation. It makes the cookies look just a little fuller, and it helps show the cookie eater that this is definitely a kitchen sink cookie! I place the additional add-ins in places where there isn’t already an M&M, chocolate chip, potato chip piece, or pretzel visible on top of the cookie.
- I recommend lining your cookie sheet with parchment paper for even browning, to prevent spreading and sticking, and to help with clean up. For more information, read the tip above.
- To measure your flour, spoon the flour into a dry measuring cup and level off the top using a knife or straight-edged utensil for best results.
- It takes 30 minutes to 1 hour for butter to come to room temperature. I recommend just placing the butter on the counter to soften before making the cookies instead of softening the butter in the microwave where the butter can melt. Melted butter in this recipe can cause cookies to flatten more and turn out slightly more dense.
- Lat note! These cookies, because they are filled with goodies, I recommend cooking at room temperature, or they won’t spread as much as you want. If you make the cookie dough in advance and refrigerate it, give it about an hour to really come to room temperature before baking.


I’m bookmarking this for Christmas – my kids will love it!
Thank you! It really is a fun cookie, we love the salty-sweet combo. I hope you enjoy it! Thanks for stopping by!
Oh yes!!! I will me bookmarking these to make in the Fall.
I am so glad to hear that! These are a huge favorite at Christmas time, and year round. I hope you enjoy them!
Our family just love these cookies! Bookmarking them to try this year for Christmas!
Thank you! They really are a fun and delicious cookie. Thanks for stopping by and for the great feedback!
This one is definitely going in my Christmas cookie box this year!
Thank you! It is definitely a fun Christmas treat that we like to make year-round. Hope you enjoy them!
love how festive these are!
Thank you! They really are a fun Christmas treat that we enjoy year round as well.
These were a hit for my daughter’s birthday. Everyone devoured them. She loves kitchen sink cookies and Christmas, win WIN!
I love that your daughter had them on her birthday! My son requested these for his birthday this year, no cake, just these cookies, they are such a favorite with the sweet and salty add-ins. Thanks for letting me know your family enjoyed them!